Americana Global
Ceramic Coating Maintenance
Nov
GET THE MOST OUT OF YOUR CERAMIC COATED VEHICLE.
Let’s be honest – ceramic coating installation is not cheap. Those who proactively install ceramic coatings to their cars, trucks, SUVs, or off-road vehicles have proven they love their rides. However, with all the different types and manufacturers of coatings on the market today, it can be unclear how to best wash, care for, and protect ceramic coatings on cars.
Our goal at Americana Global is to provide real-world, easy-to-understand education – whether you use our detailing or Ceramic Pro paint protection products or not. As such, today’s AmericanaGlobal.com blog is going to focus on the best practices for washing, detailing, and protecting those spray-on or professionally applied nanoceramic coatings.
How Do I Maintain My Ceramic Coating?
Ceramic coatings are installed after paint correction – so it amplifies the condition of the paint after swirl marks are removed. When it cures, the layer of protection becomes hydrophobic – meaning it repels water and other debris. We all know the benefits of ceramic coating – but to maintain a warranty, it’s vital to follow recommended maintenance guidelines.
The general rule of thumb of car care is to wait at least two weeks after installing any ceramic coating before washing the vehicle. However, some car detailing enthusiasts tend to rush – which can damage the top coat and lead to quicker wear and tear.
While most coatings initially cure in a matter of seconds or minutes, it takes a week or two for the coating to adhere to the clear coat, glass, wheels, and other substrates. The best way to care for a ceramic coated vehicle is to hand wash every two weeks using the two-bucket method of car washing.
Here are the process and steps.
Step 1 – Gather Supplies
To wash a ceramic coated vehicle, you’ll first want to collect and set up your supplies. Collect the following:
- (3) wash buckets – Use one for the wheels and tires – and two for the car’s paint.
- (2) microfiber wash mitts or towels – Use one for the wheels and one for the car’s paint.
- A water hose with a spray nozzle. If you have a high-pressure washer – this is optimal. Add a foam cannon to pre-wash the car beforehand washing for optimal results.
- A high-quality ceramic aftercare soap. Make sure ANY soap you use to wash a ceramic-coated vehicle developed for these coatings. This means pH neutral, no car wax, and aggressive surfactants.
- A dedicated microfiber or terry weave drying towel. If you have a high-pressure ‘leaf blower’ – you can air dry the vehicle, but sometimes this will create tiny water spots.
This article is an excellent resource for learning how to pick the best car shampoo for ceramic coatings. Give it a read – it’ll be worth your time.
Step 2 – Pre Wash the Vehicle
Once you’ve gathered your supplies and have them all set up for easy access, start by spraying off the entire vehicle with fresh water. This will remove any large contaminants and debris from the surface. Make sure to spray off those wheels and tires, too – as there will be a lot of brake dust in the wheels and the wheel wells.
Bonus tip: Some people like to use high-suds or snow foam soap as a pre-wash. This is an excellent idea for ceramic-coated vehicles, as it can break down dirt and debris as it dwells on the paint. We recommend using our Vinyl & PPF soap as a pre-wash using a foam cannon. Spray it on the entire vehicle, then let it dwell on the surface for 4 to 5 minutes while you wash the wheels and tires.
Step 3 – Wash Wheels & Tires
Many substances can scratch ceramic coatings in brake dust. The primary contaminant is iron – which is in most brake systems. If you use the same wash bucket and mitt to wash wheels and your car, you may scratch your coating – and in some cases, all the way through the coating to the clear coat.
Here is how we like to wash our wheels.
- Foam cannon all wheels and tires first.
- Spray Americana Global Wheel & Tire Cleaner on all wheels – let it dwell for a few minutes.
- Rinse off the painted surface with fresh high-pressure water (don’t rinse off the wheels).
- Use a dedicated wheel brush and tire brush to agitate the soap and Wheel & Tire cleaner.
- Rinse off each wheel and tire as you finish.
- Wait to dry off once you’re done with the entire car wash – last step.
Step 4 – Two Bucket Hand Wash
Car enthusiasts and detailers should use two buckets to hand wash a ceramic coated vehicle. One bucket will have fresh water with a grit guard. This is the bucket you use to wash the microfiber towel or mitt after each panel. The other bucket will have soapy water.
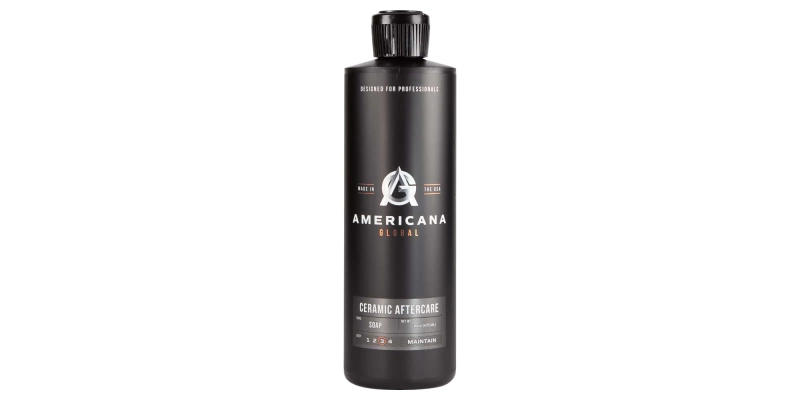
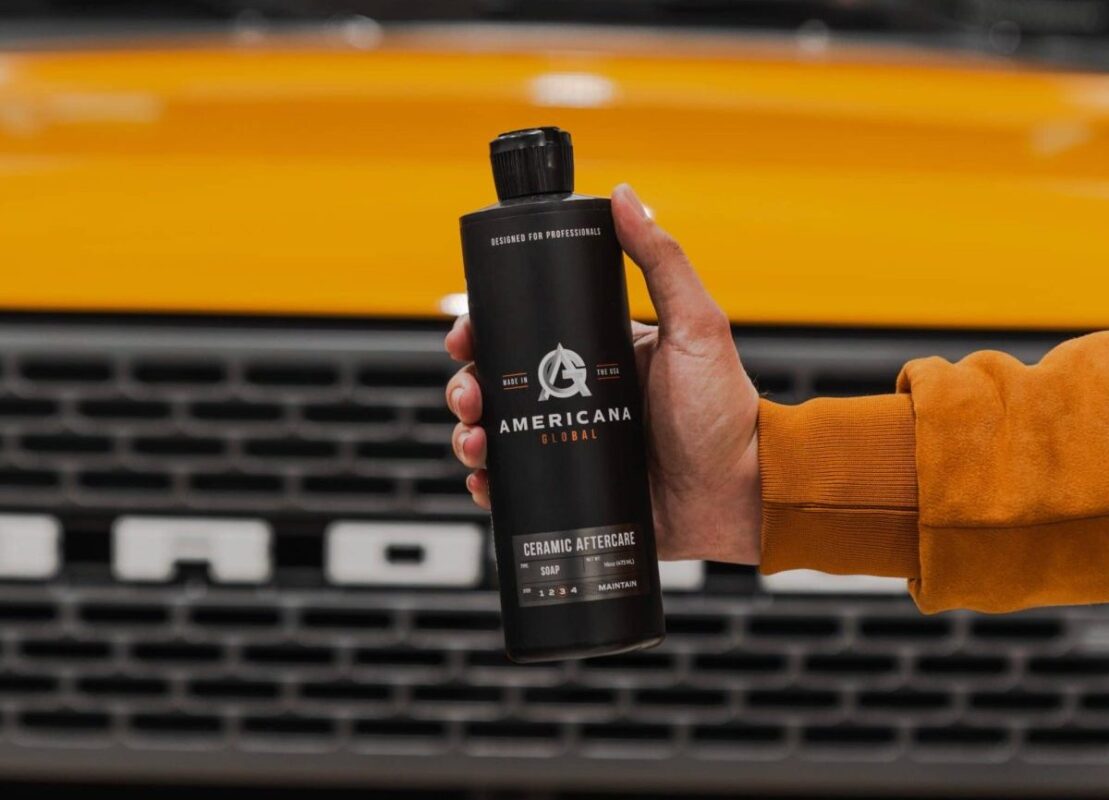
We recommend using Americana Global Ceramic Aftercare Soap. Its the maintenance soap recommended by the global leaders in protection – Ceramic Pro Americas. So you can trust it’s a high-quality product.
- In a 5-gallon bucket, add two ounces of soap to the bottom of the bucket (about half full of water).
- Spray the high-pressure water into the bucket to ‘foam it up.
- Use your wash mitt and soak it with soapy water.
- Start at the top of each panel, and work from left to the right – top to bottom. Once you reach the bottom, make sure to get those hard-to-reach areas.
- Rinse the soapy mitt in the freshwater bucket and rinse that panel off with fresh water.
- Proceed to all parts of the vehicle until finished – then dry with a microfiber towel.